
| WebOPSS Context-Sensitive Help | Version 3.1 | June 12, 2012 |
Click the link for general information on Templates.
Ad Hoc data collection allows authorized users to generate customized template information, instead of simply loading long and complex tables with system-loaded data. Users can not only create the Ad Hoc tables that their situation requires, but can also upload data to it, view, and delete them as desired.
To Add an Ad Hoc table:
Figure 6.66: Ad Hoc Data Collection

Figure 6.67: Create an Ad Hoc Table
NOTE: The “ID,” “CertificateID,” and “DateUploaded” columns in the table at the bottom of the screen are default only and will not appear as visible columns in new tables.
HINT: If the table is intended for a specific authorizing document, it may be helpful to include the CFR, Part, and Para of the intended template in the table name.
HINT: The field Size may vary depending on what Data Type is chosen. For example, 120 is a recommended size for text entries. A size of 50 is recommended for number entries.
HINT: The Default text is what will show unless otherwise changed. For example, “false” may be entered as the default for Yes/No data types so that all answers will be “No” until they are changed.
NOTE: The “Yes” option is selected as the default.
To View Table Properties:
 ) in the second-to-last column of the desired table. The Ad Hoc Data Collection table changes to display the properties of the selected table only.
To Delete an Ad Hoc Table:
 ) in the last column of the desired table. The table is removed from the Ad Hoc Data Collection table.
To Upload Ad Hoc Data:
HINT: The most recent copy of the template may not already exist in the Workspace. Users may need to move the most recent version from Available to Workspace. For more information on moving templates to the Workspace, see “To Move a Paragraph to Workspace” section in Authorizing Documents: Available.
 ) at the bottom of the desired Ad Hoc table. The Ad Hoc Data Upload form appears:
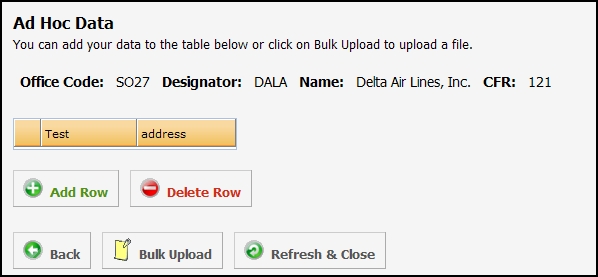
Figure 6.68: Upload Ad Hoc Data

Figure 6.69: Bulk Upload Ad Hoc Data
HINT: The only acceptable file format is “.xls”.

Figure 6.70: Manually Upload Ad Hoc Data
| Federal Aviation Administration |